Bridging the Display Inspection Gap from Lab to Line: Scientific Metrology + Production AOI
Display metrology is the science of quantifying the visual output of a display. It enables the visual characteristics of a display to be evaluated according to objective, universal measurement values. Typically it derives these values based on a the visual perception model of a typical human (called a standard observer). A big part of evaluating a display’s appearance and performance is measuring qualities of light such as brightness (luminance), color (chromaticity), gamut, contrast, uniformity, defects, and view-angle appearance as they are perceived by humans.
The CIE has documented a standard observer’s visual response to light and color and defines mathematical functions for measuring light using the same sensitivity. The application of these principles is called photometry (light measurement based on human perception) or colorimetry (color measurement based on human perception). Metrology instruments can apply CIE functions to quantify the light and color of illuminated displays and light source emissions as photometric and colorimetric measurements. Measured values are used to ensure brand quality and consumer expectations are met as well as to set visual performance specifications for display products.
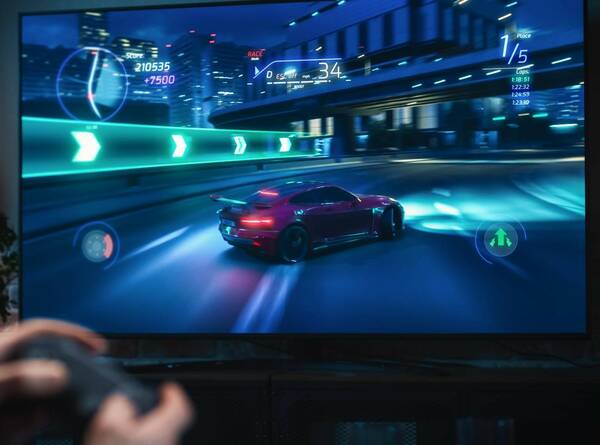
Consumers expect today's display devices to provide a vivid and flawless visual experience.
Metrology instruments include a range of technologies—spectrometers, photometers, colorimeters, imaging systems, goniometers, specialized lenses, analysis software, etc. Most of these measurement systems are well suited to lab and R&D environments, enabling developers to gather precise data for analysis. The careful diagnostic process and flexible pace of a lab is typically viewed as the opposite of a manufacturing production-line, where speed and high-volume throughput are required.
So, what can manufacturers do to address display measurement needs once their products move out of the R&D phase and into the factory? The discipline of automated optical inspection (AOI) has attempted to address this need, typically using machine vision cameras. But traditional AOI systems have limitations. While they can meet the demanding throughput needs of a production line, they sacrifice precision and detail.
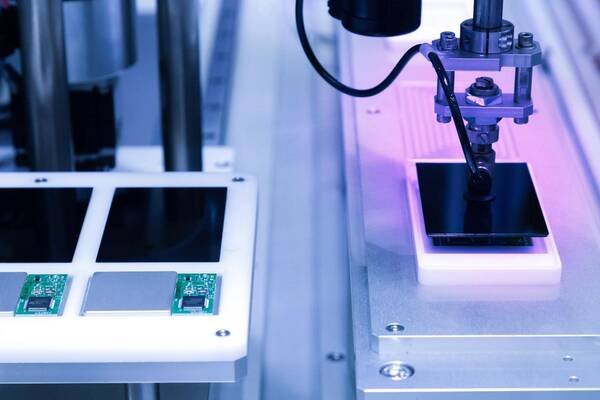
Smartphones on the assembly line.
Imaging is one of the key benefits machine vision systems provide. Imaging enables the complete area of a display to be captured and evaluated at once, increasing inspection efficiency. Depending on image sensor resolution, imaging systems can measure several million points on a display at once to compare spatial values. With the display industry continually driving towards higher and higher screen resolution with OLED, microLED and nano-scale pixel elements, high-resolution measurement has become a necessity. However, traditional machine vision systems typically lack the resolution and light measurement capabilities of a photometry-based imaging system, so their imaging benefits are outweighed by the lack of absolute metrological data, especially at the scale of a display pixel.
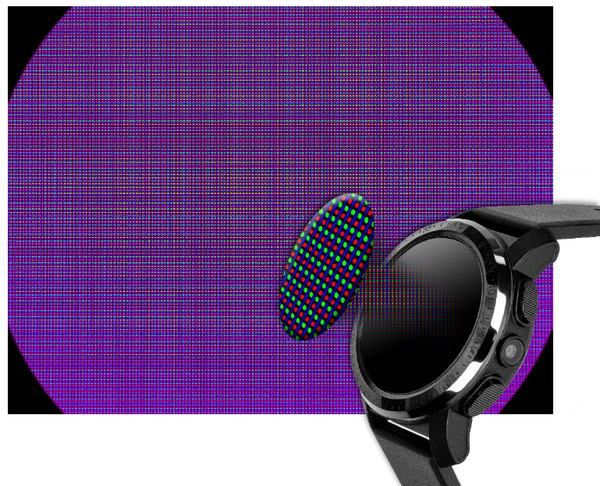
Measurement of an OLED smart watch and other high-resolution displays demands pixel- and subpixel- level inspection.
Thankfully, there are solutions and approaches that now bridge the gap between scientific measurement and high-speed production AOI. These solutions are helping manufacturers to ensure display quality according to industry standards, brand specifications, and user expectations.
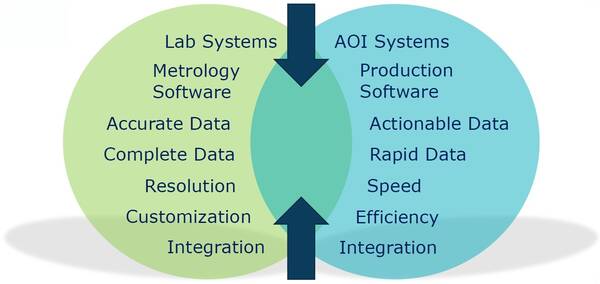
Scientific metrology systems (left) and AOI systems (right) each have their strengths. Today’s display manufacturers need a solution that offers a blend of capabilities.
Bridging the Gap
Radiant has stepped in to fill the gap by designing metrology systems specifically for production use that optimize speed, form factor, and functionality. We have pushed the boundaries of resolution with our ProMetric® imaging photometer and colorimeters, offering sensors up to 61 megapixels (MP) and beyond, compared to many machine vision cameras that typically have 12MP.
Our TrueTest™ AOI software suite enables manufacturers to capture a single image of an entire display and instantly analyze every pixel in microscopic detail to identify defects such as mura, dead pixels, or nonuniformity. Our patented demura method allows users to measure and correct visual defects, reducing cost and waste of poorly performing components and ultimately increasing production yield.
To learn more about Radiant’s display measurement solutions, watch the webinar presented in cooperation with Consumer Electronics Test & Development, “Display Metrology for Production: AOI Systems and Technology Advantages.” In it, Radiant display test experts discuss:
- Scientific display metrology: Measuring light to determine visual quality
- Display test challenges for current and future production
- Characteristics of the ideal AOI system
- Misconceptions about applying metrology for production AOI
- Examples of advanced metrology systems with advantages for in-line inspection
Join Mailing List
Stay up to date on our latest products, blog content, and events.
Join our Mailing List